VMware ESXi 6.5 Install step by step
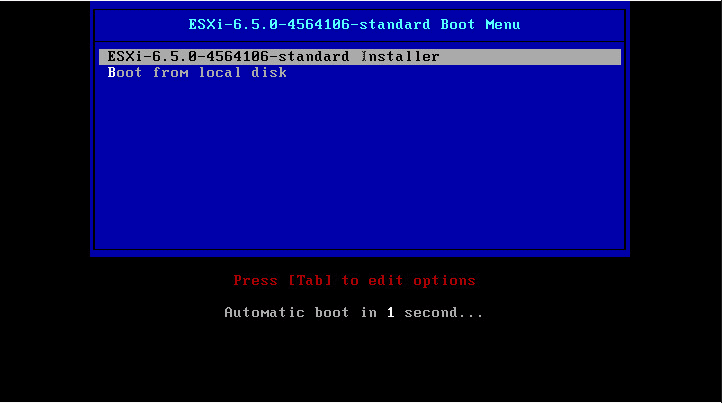
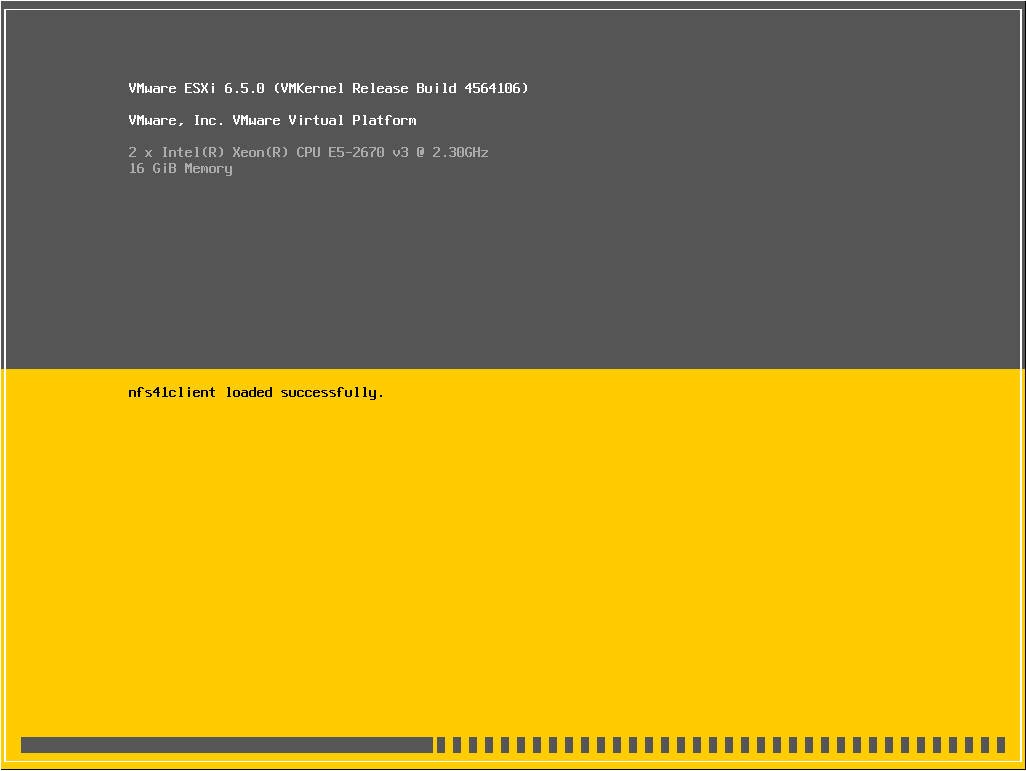
Hal yang harus diperhatikan sebelum anda mengisntall Vsphare atau ESXI adalah donwload ISO nya di https://my.vmware.com/web/vmware/. Saya asumsikan anda sudah mempunyai ISO baik dalam bentuk burning lewat CD atau menggunakan metode lain, nah selanjutnya lakukan booting ke ISO tersebut sehingga muncul gambar dibawah ini :Pilih boot ESXI sampai muncul boot load untuk vmware seperti gambar dibawah ini:
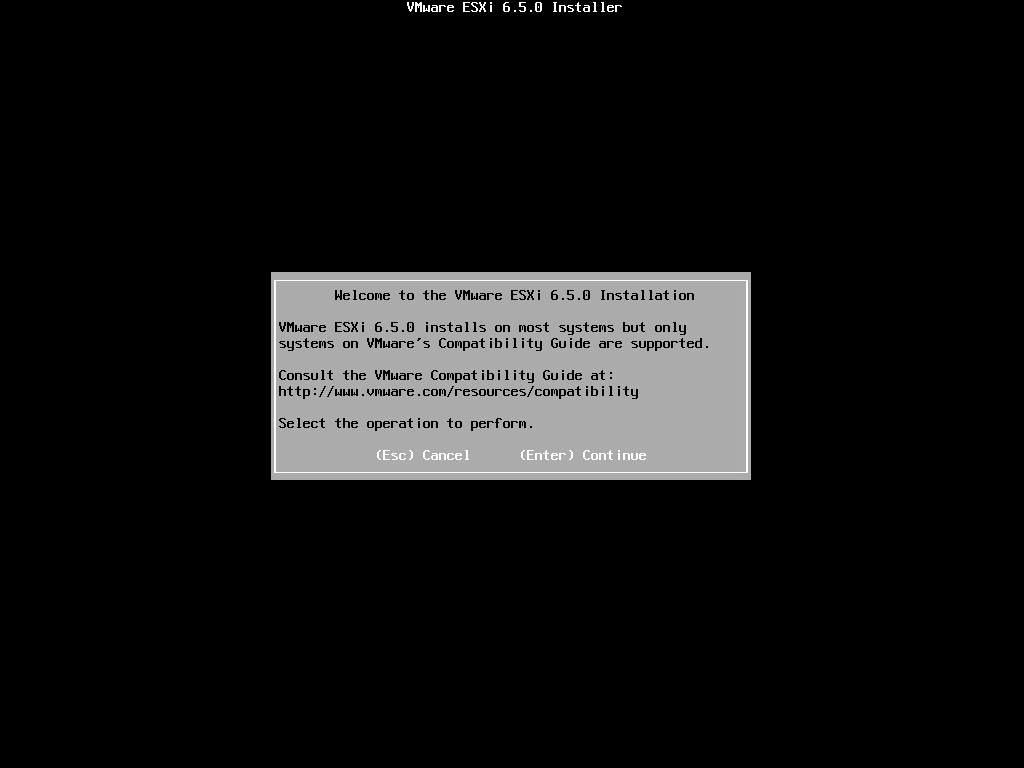
Persiapan instalasi, lanjutkan dengan menekan enter to continue
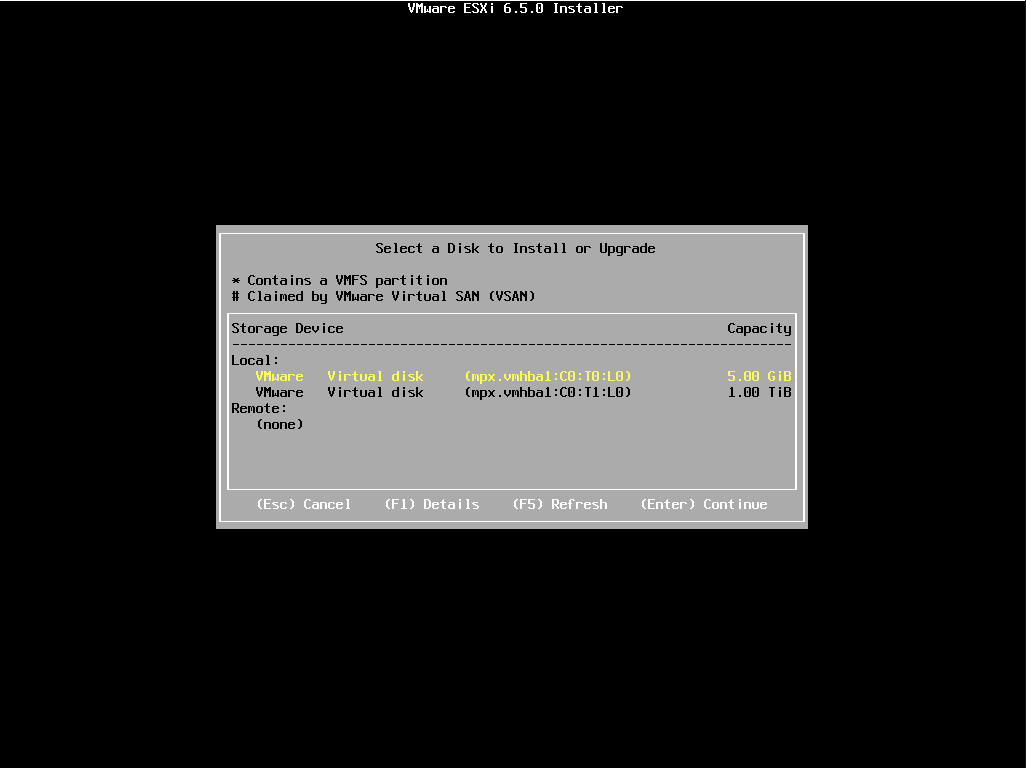
Oiya sebelumnya anda harus membagi lokasi installer dengan VM nya atau digabung itu selera anda masing-masing. nah...selanjut nya pilih lokasi drive untuk instalasi ESXi
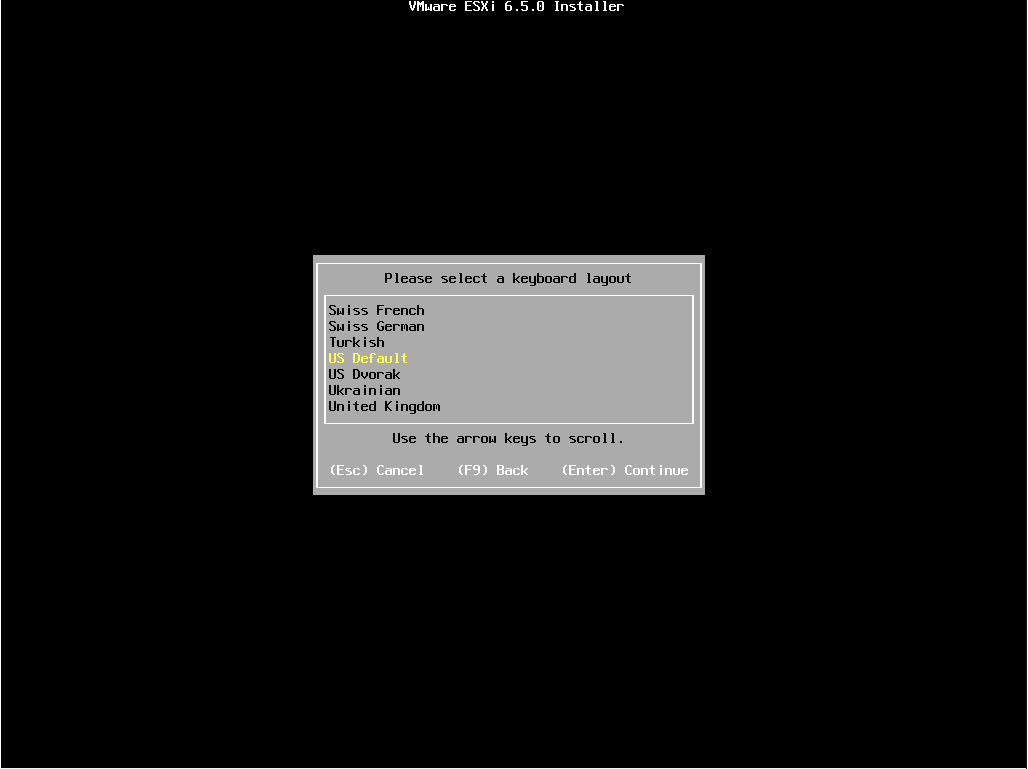
Selanjutnya pilih bahasa, dan lanjut ke tahan selanjutnya
Masukan password untuk masuk kedalam portal VMware

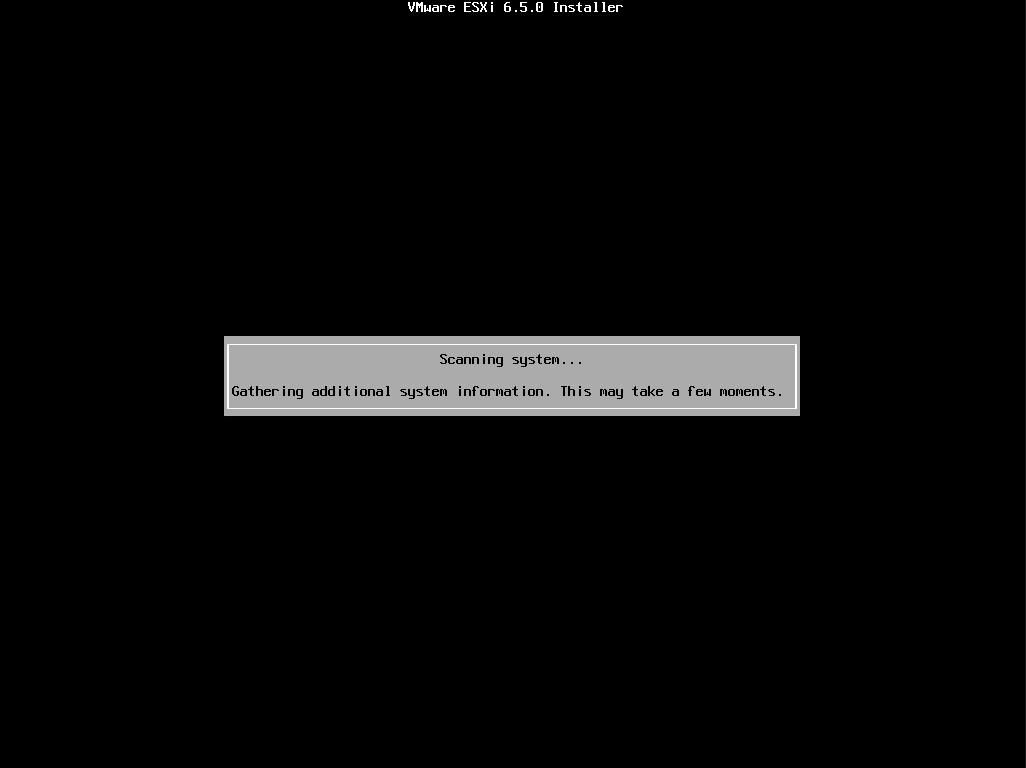
Scanning for components screen is next.
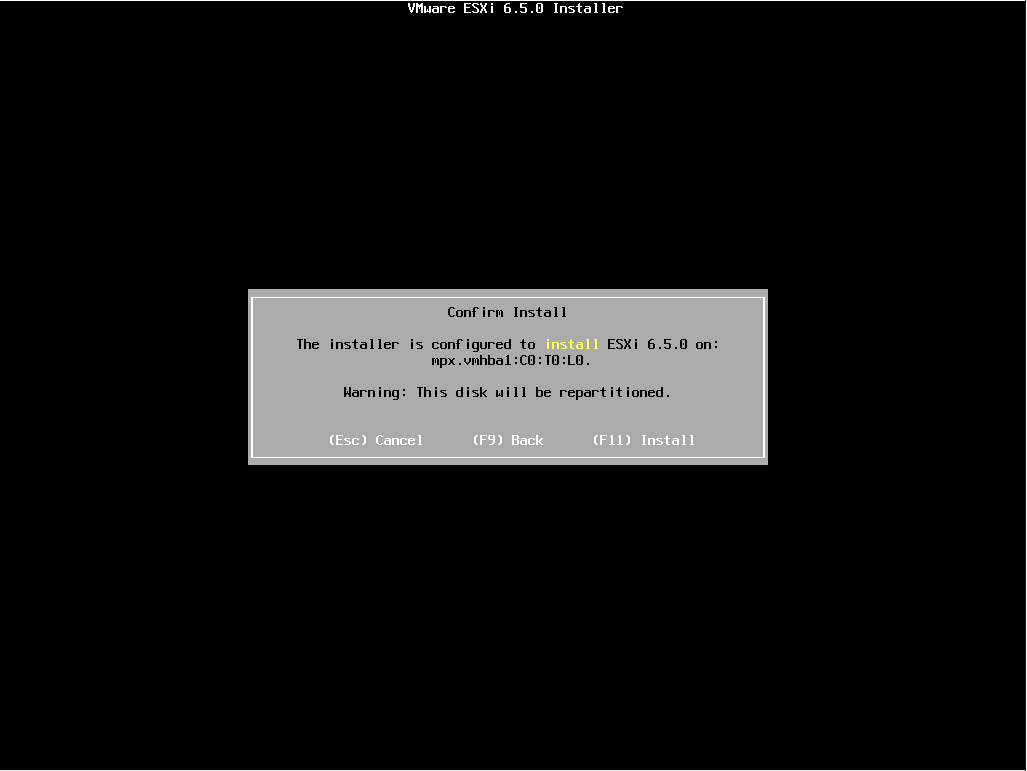
The disk is repartitioned with the install by pressing F11.
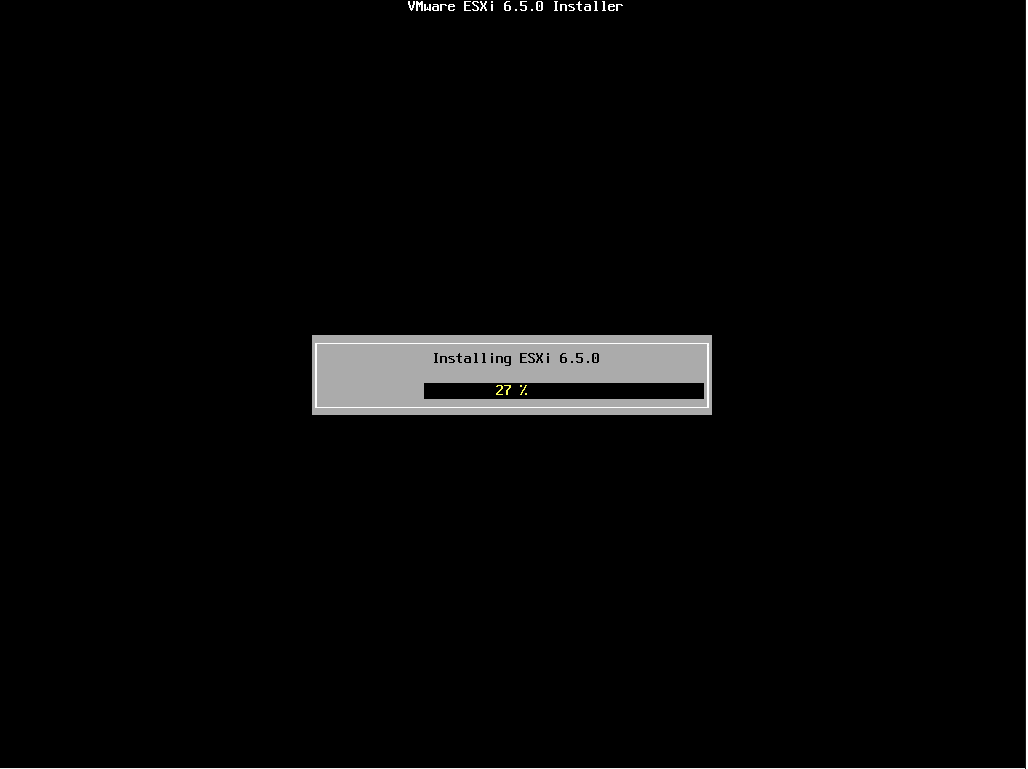
The install begins!
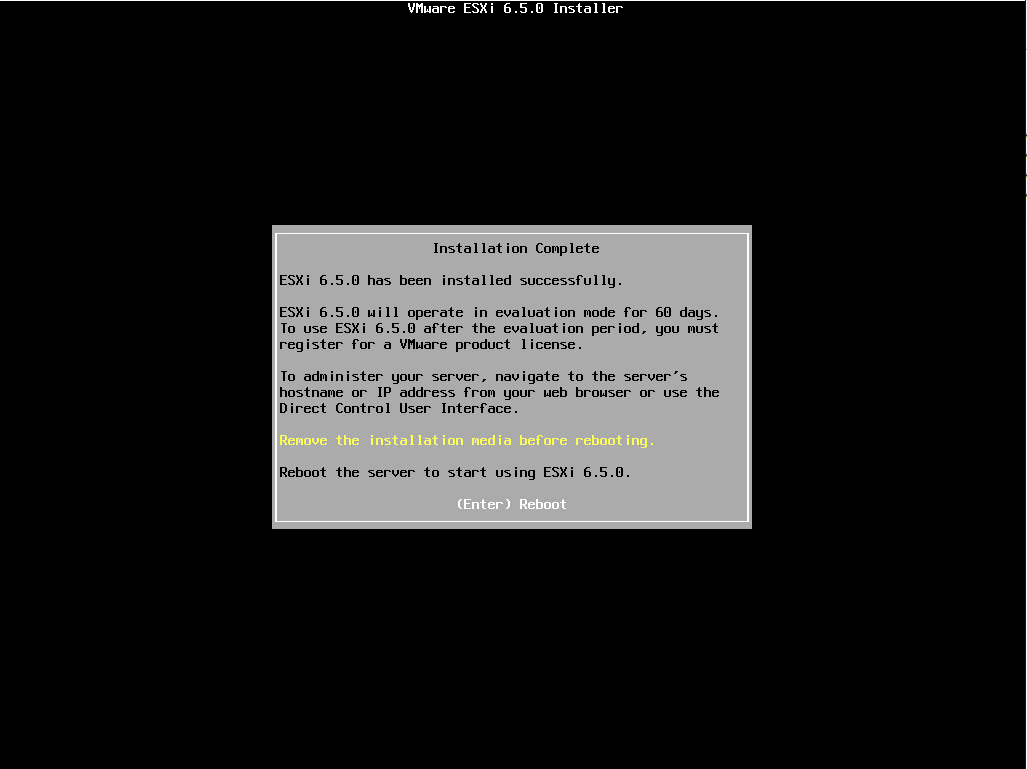
After the installer completes, we are prompted to reboot by pressing ENTER.
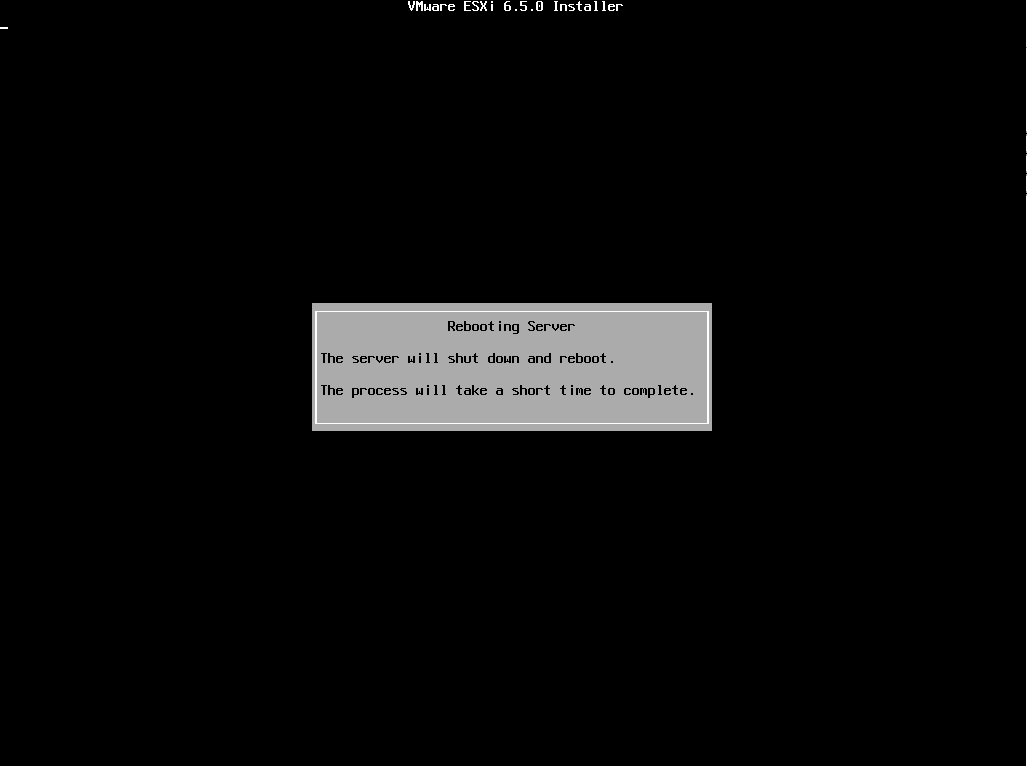
The host reboots.
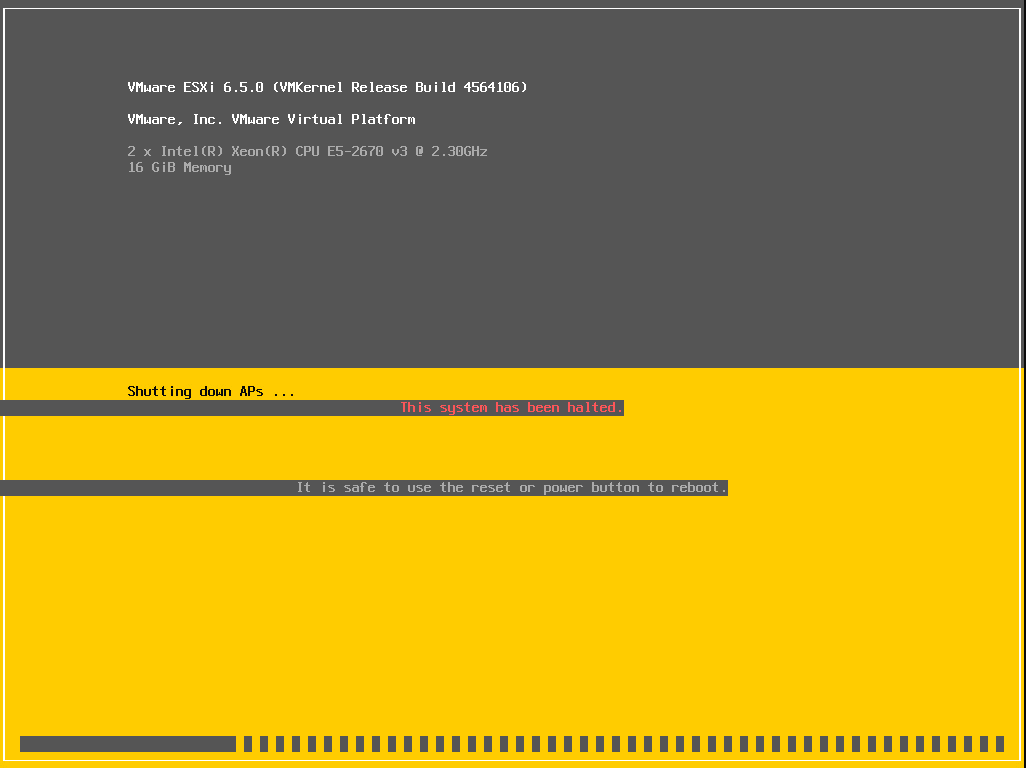
Below is a quick screen caught as the system was halted and reboot begins.
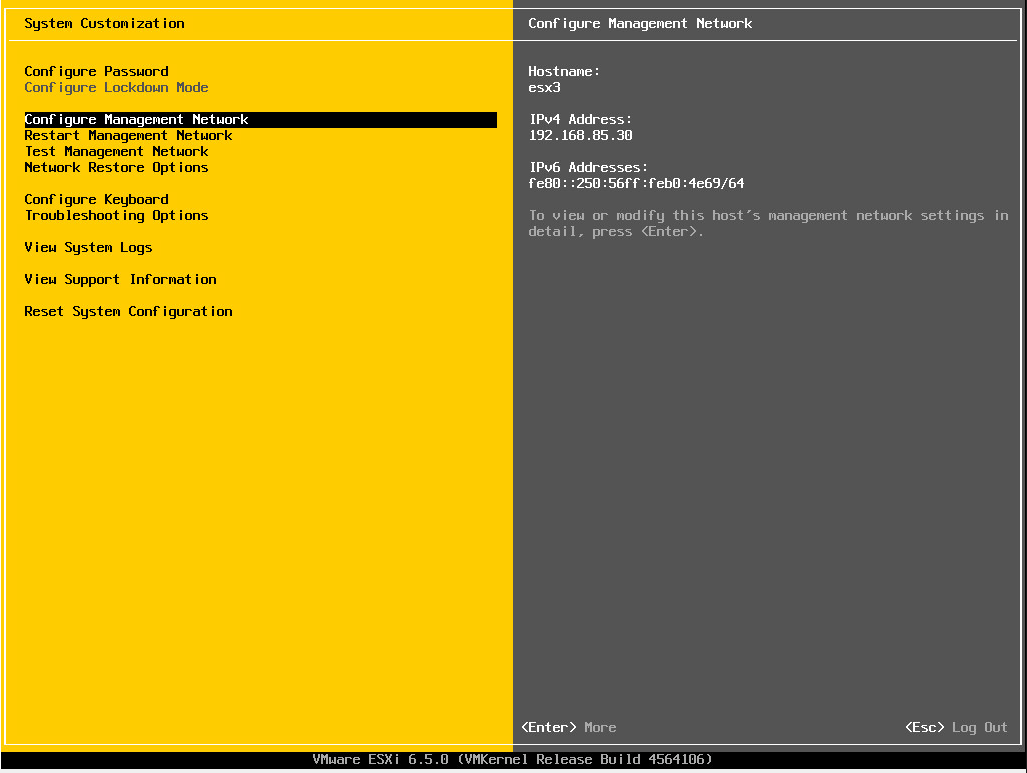
Alas, we are at the first DCUI spash screen for 6.5.
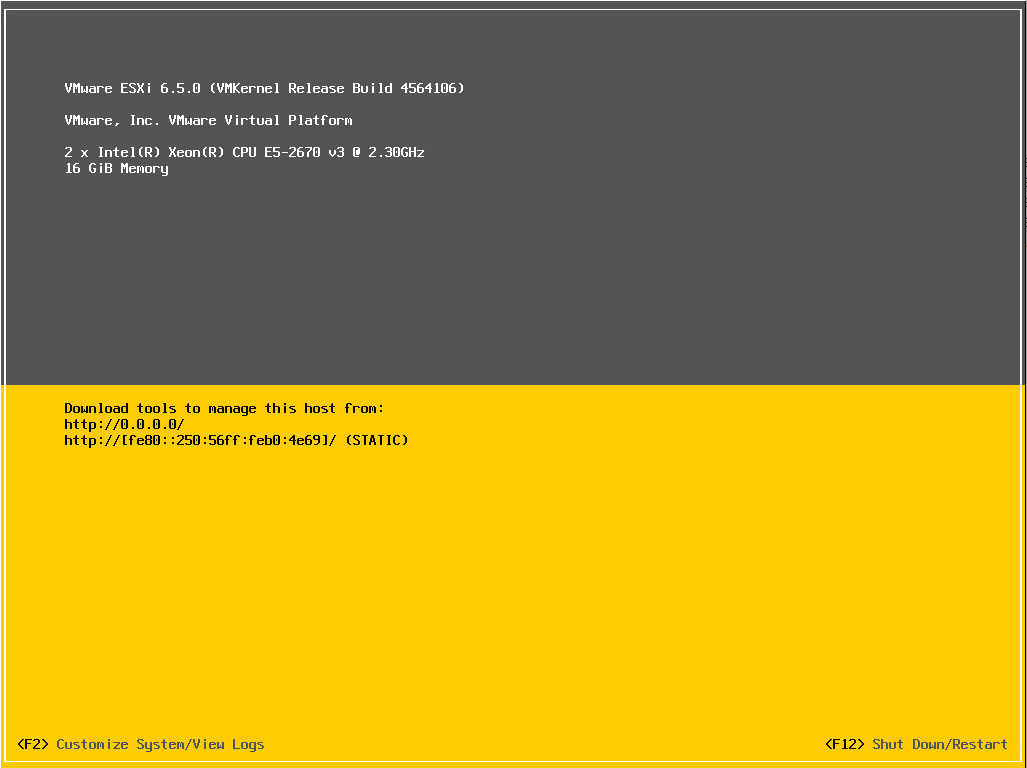
The DCUI menus look the same with no surprises here in the management network configuration or other options found in the menus.